A dieline is a flat template that guides how packaging is cut, folded, and assembled. It’s like a blueprint for boxes, bags, or labels. A good dieline ensures your packaging looks professional and fits perfectly. This guide explains what a dieline is and how to create one for printing and packaging. Whether you’re new to design or a business owner, you’ll find clear, actionable steps to succeed.
What is a Dieline?
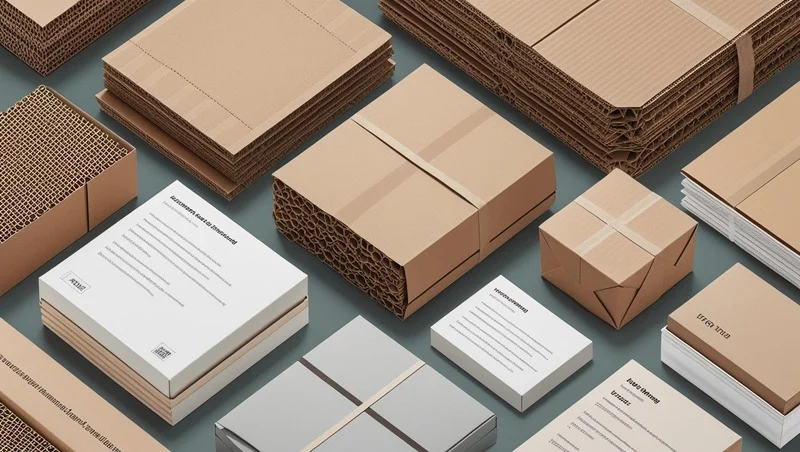
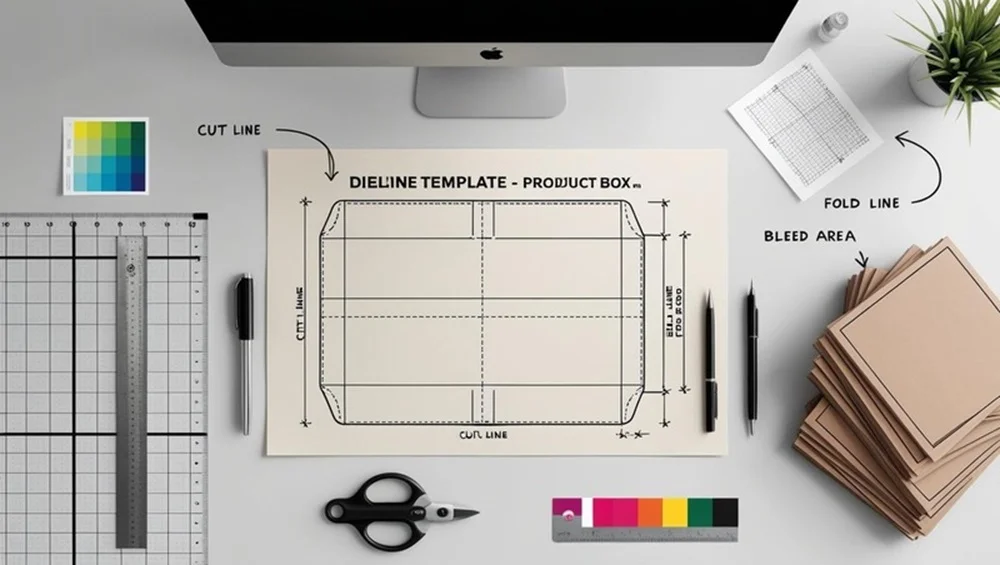
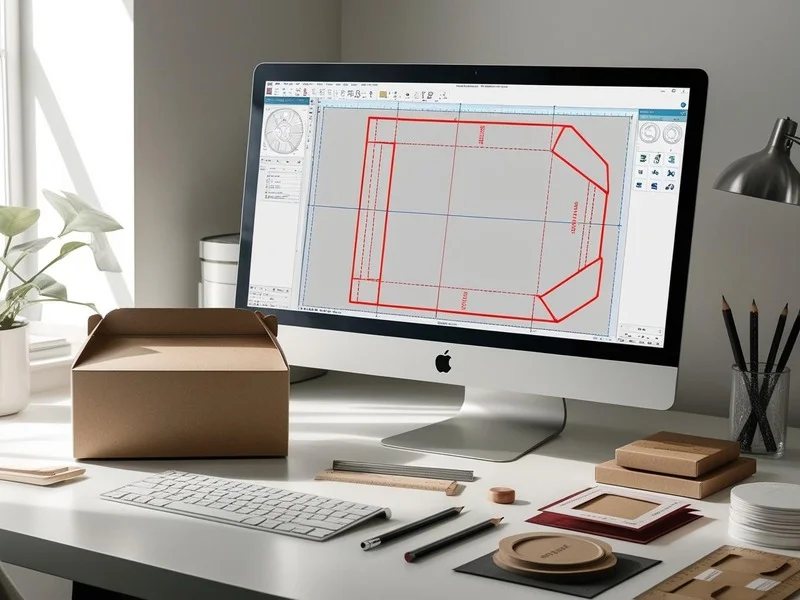
A dieline is a 2D diagram used in packaging design. It shows where to cut, fold, or perforate the material. Printers and manufacturers rely on dielines for accuracy. Key parts of a dieline include:
- Cut Lines: Solid lines where the material is sliced.
- Fold Lines: Dashed lines for folding the package.
- Bleed Lines: Extra space to avoid white edges after cutting.
- Perforation Lines: Dotted lines for tear-off sections.
- Safety Margins: Zones to keep text and logos safe from cuts.
Dielines are used for all kinds of packaging, like boxes, envelopes, and labels. They make sure the final product is functional and polished.
Why Dielines Matter
Dielines are essential for quality packaging. Here’s why:
- Precision: They ensure accurate cuts and folds.
- Professional Finish: Avoids misaligned text or logos.
- Time-Saving: Clear instructions speed up printing.
- Cost-Effective: Reduces errors and wasted materials.
A missing or poorly made dieline can lead to crooked packaging or unfit products. This hurts your brand’s reputation.
How to Create a Dieline for Packaging and Printing
Making a dieline requires planning and the right tools. Follow these steps to build one from scratch.
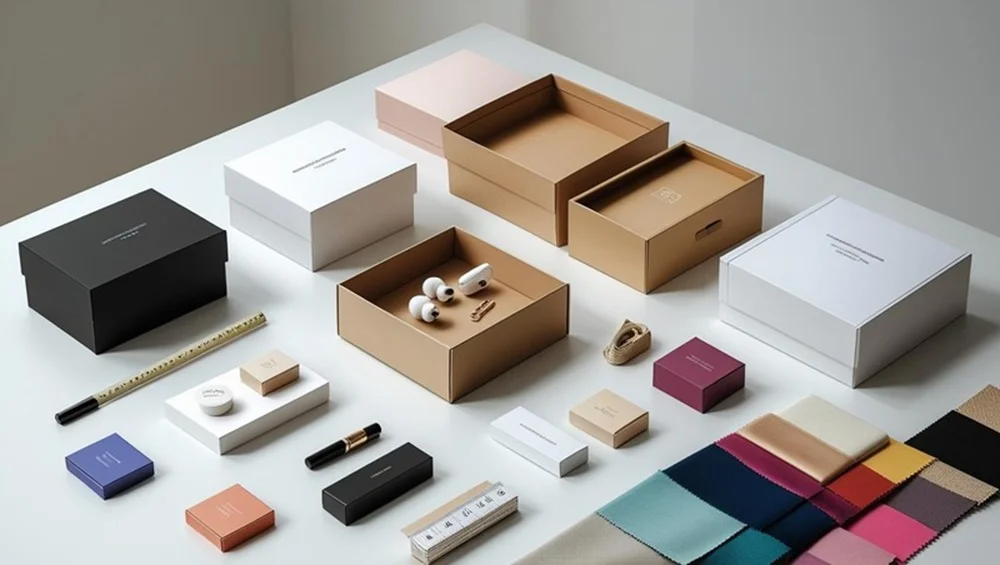
Step 1: Know Your Product
Understand your product’s size, shape, and needs. Ask:
- What packaging type suits it (box, bag, label)?
- How will the product fit inside?
- Does it need inserts for protection?
Measure a similar package and unfold it to study its tabs and folds—this helps you plan your dieline effectively. Understanding how die cutting works at this stage ensures your design aligns with real production needs.
Step 2: Pick Design Software
Use vector-based software for clean, scalable lines. Popular choices are:
- Adobe Illustrator: Best for professional dielines.
- Adobe InDesign: Great for layout and text.
- ArtiosCAD: Built for packaging design.
- CorelDRAW: Budget-friendly vector tool.
These programs let you create precise dielines and export them as PDF or DXF files.
Step 3: Build Your Dieline
Set up a new file in your software. Follow these tips:
- Set CMYK Color Mode: Matches printing standards.
- Use Layers: Separate cut, fold, and bleed lines.
- Color-Code Lines: Red for cuts, blue for folds, green for bleeds.
- Add Bleed Area: Extend artwork 0.125 inches past cut lines.
- Set Safety Margins: Keep text 0.125 inches from edges.
Label panels clearly (e.g., “front,” “back,” “flap”) to avoid mistakes.
Step 4: Test the Dieline
Print a mockup on paper or cardstock. Fold and assemble it to check:
- Does it fit your product?
- Are cuts and folds aligned?
- Is text or artwork placed correctly?
Fix any issues. Testing saves money by catching errors early.
Step 5: Work with Your Printer
Share your dieline with your printer before production. Ask about:
- Preferred file formats (PDF, AI, DXF).
- Material type and thickness.
- Specific cutting or folding requirements.
Their feedback ensures your dieline works with their machines.
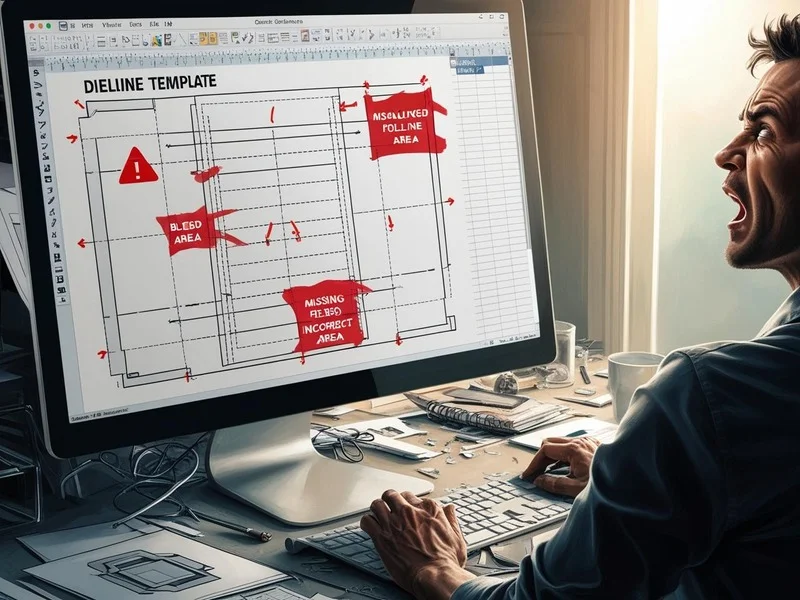
Common Dieline Mistakes to Avoid
Even pros make errors. Steer clear of these:
- No Bleed Area: Causes white edges on prints.
- Overlapping Lines: Confuses cutting machines.
- Low-Quality Images: Leads to blurry designs.
- Skipping Mockups: Misses design flaws.
- Unlocked Layers: Risks accidental changes.
Review your dieline carefully before sending it.
People Also Ask: Dieline FAQs
What’s a Dieline vs. a Template?
A dieline is a technical drawing with cut and fold lines. A template may include a dieline plus artwork or branding elements.
Do I Need Adobe Illustrator?
No, but it’s ideal. Free tools like Inkscape or affordable ones like CorelDRAW also work.
Can I Make a Dieline Without a Designer?
Yes, with practice. Tools like Pacdora offer templates for beginners.
How Much Does a Dieline Cost?
Prices vary. Simple dielines might be free from printers, while custom ones cost $50-$500 based on complexity.
Tips for Great Dieline Design
- Simplify Designs: Complex shapes raise costs.
- Use Vectors: They stay crisp at any size.
- Seek Feedback: Share with colleagues to spot issues.
- Visualize in 3D: Picture the flat design as a package.
- Go Eco-Friendly: Use sustainable materials to attract customers.
Conclusion
A dieline is the key to perfect packaging. It ensures your design is accurate, professional, and ready for production. By knowing your product, using tools like Adobe Illustrator, and testing mockups, you can create a dieline that shines. Avoid common errors, talk to your printer, and follow these steps for success. Your packaging will look great and leave a lasting impression.
Start now with a free dieline template or hire a designer to get it right!